On this page
A cyberdeck is a portable computer you build yourself, usually for one particular job and usually with a cyberpunk look. The word is short for "cyberspace deck", from William Gibson's 1984 novel Neuromancer.
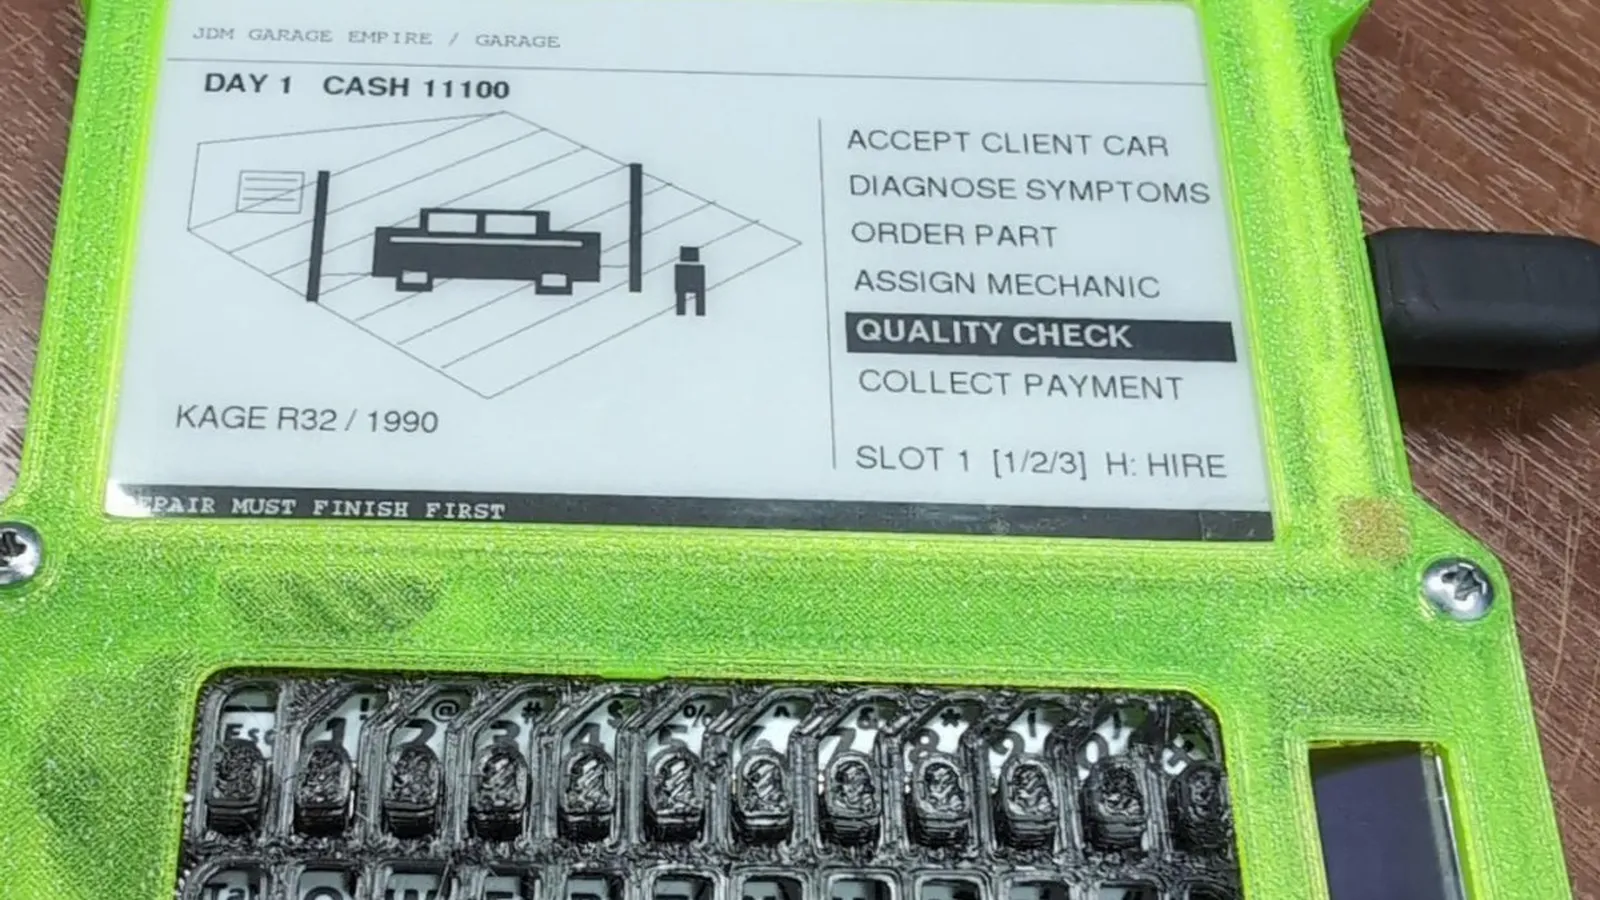
Most are built around a laptop motherboard or a single-board computer like the Raspberry Pi, with a screen and a keyboard. Small ones run on a microcontroller like the ESP32. The one above is an ESP32 with an e-paper screen, a thumb keyboard and a second tiny screen, running a garage management game.
What people use a cyberdeck for
Each deck gets built for its own reason. Wikipedia's examples include keeping knowledge safe for after the apocalypse, radio frequency surveillance, cybersecurity work and receiving data sent by satellites. Some are built purely for the look.
The ESP32 decks on Schematik do smaller jobs. One scans the Wi-Fi networks around you. Another reads e-books, runs a Pomodoro timer and plays a six-track synthesizer. The Raspberry Pi deck further down is a full Linux desktop with two screens.
The price follows the size. The smallest deck below is three modules on USB power. The largest lists about $728 in required parts before shipping.
Cyberdecks people have built on Schematik
Portable Cyberdeck Console by Alexey Ponomaryov
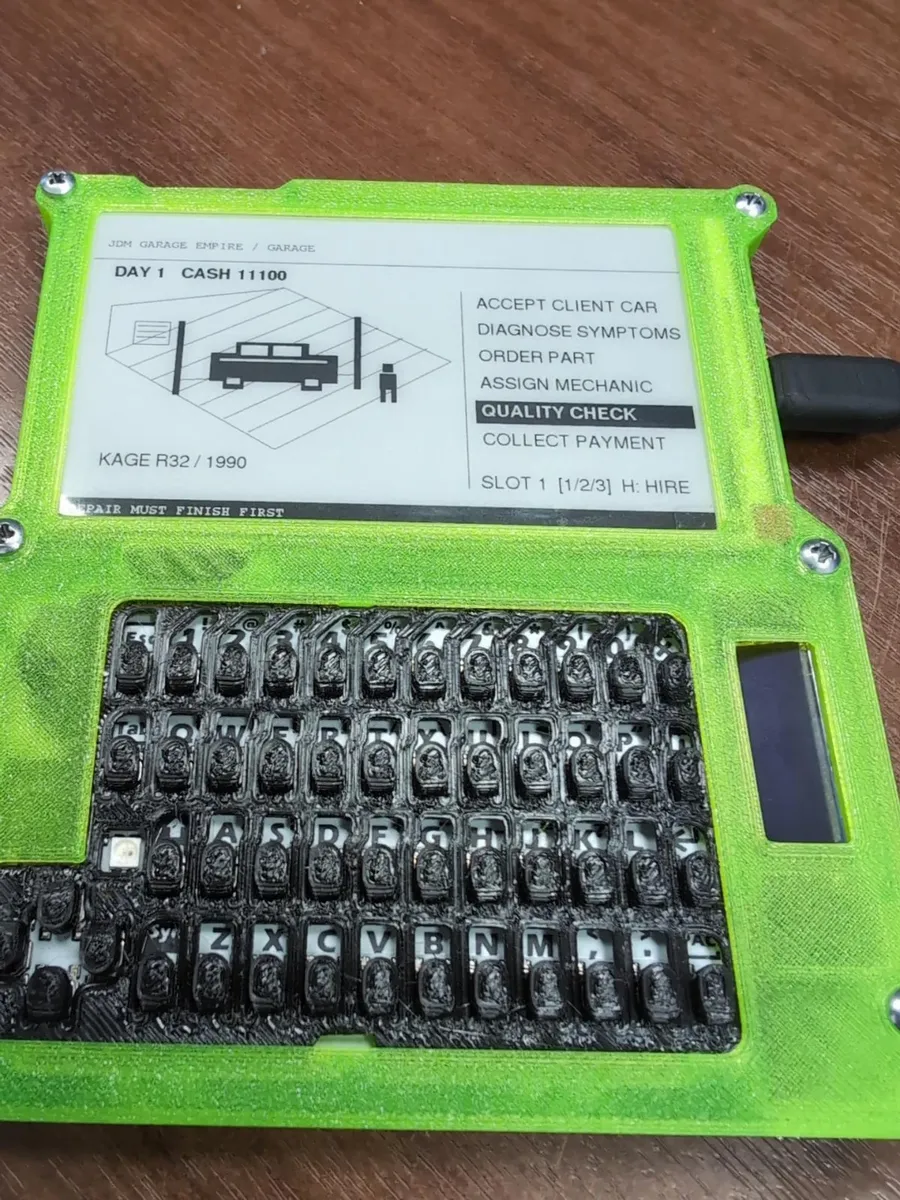
The Portable Cyberdeck Console is an ESP32 board with an e-paper main screen and a microSD slot built in. An M5Stack CardKB2 mini QWERTY keyboard talks to it over I2C. The keyboard runs at 5V, so a BSS138 level shifter sits between it and the ESP32's 3.3V pins.
A second screen, a 0.91-inch 128 × 32 OLED, shows the time, Wi-Fi, card and timer status. A NEO-6M GPS module sits behind a MOSFET, so the deck switches it on only when it needs it. After 2 minutes without a key press the deck goes to sleep, and any key wakes it.
What it runs:
- a file manager for the microSD card
- a timer and Pomodoro clock
- Wi-Fi file exchange with a computer's browser
- an e-book reader for TXT, FB2 and EPUB files without DRM
- 3-second microphone recordings saved to the card
- a six-track Groove Box synthesizer
ESP32 Cyberdeck Console by neilyneilynig
The ESP32 Cyberdeck Console is the smallest deck here: an ESP32 DevKit v1, a 0.96-inch 128 × 64 SSD1306 OLED and a KY-040 rotary encoder, a knob that also clicks. Turn the knob to flip between three pages, TERMINAL, SYSTEM and CONTROLS. Press it to run a command. It runs from USB, and the page puts assembly at a few minutes. The build section below walks through it.
ESP32 Cyber Deck by Emmanuel Mumo
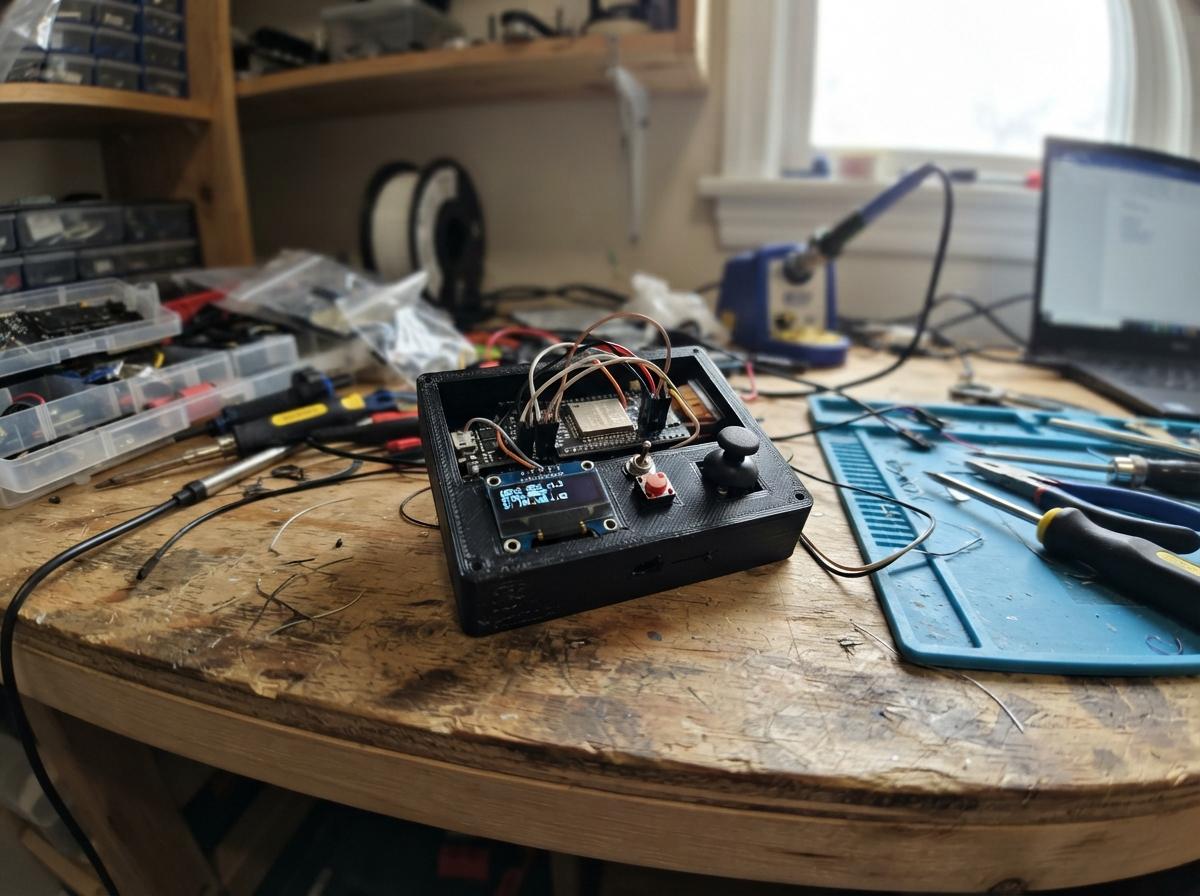
The ESP32 Cyber Deck swaps the knob for two push buttons, NEXT and ACTION, next to an ESP32 DevKit v1 and a 128 × 64 SSD1306 OLED. It scans the 2.4 GHz Wi-Fi networks around you and shows each one's name, signal strength in dBm, channel and whether it is open or secured. Plug it into a computer and it also takes typed commands over USB serial: scan, status and note.
Raspberry Pi 5 dual-screen cyberdeck by Sector 07
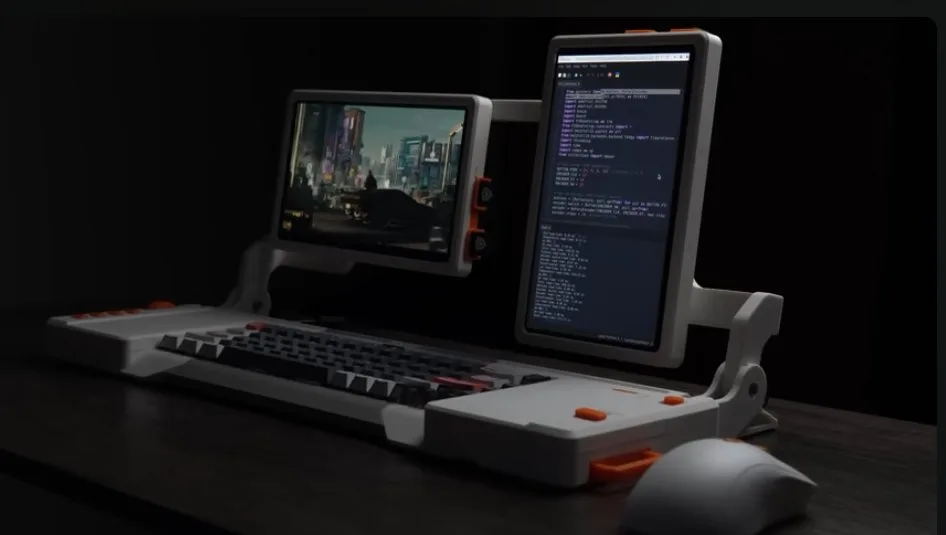
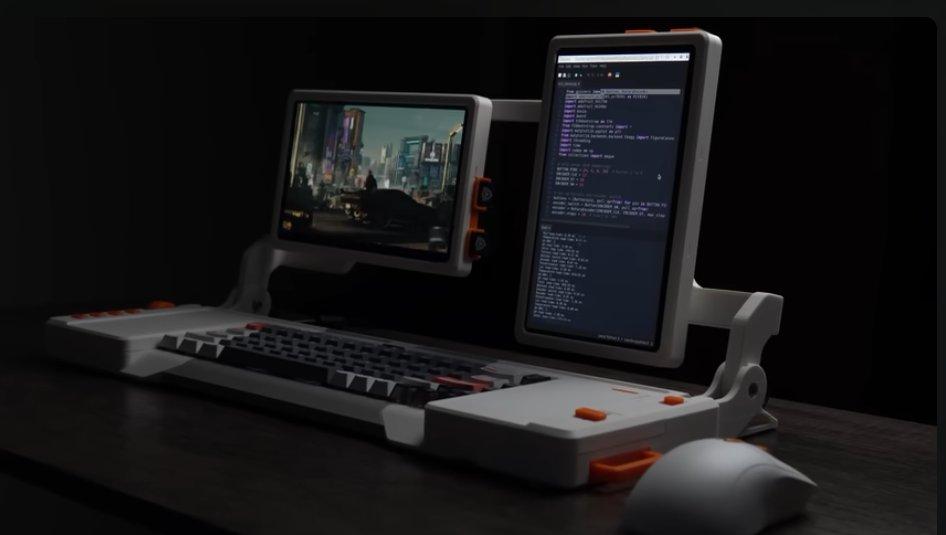
Sector 07's RPI_DEV is the other end of the scale. Two 9-inch touchscreens turn between portrait and landscape on printed arms. Inside are a Raspberry Pi 4 or 5 and a USB hub. It also has an I2C port, a 40-pin GPIO port, programmable buttons, a rotary knob and a slider.
otieno.robind's Raspberry Pi dual-screen cyberdeck project documents the build and adds a Raspberry Pi Pico control panel. It has four macro keys, two knobs for volume and scroll, and a trackpad. It plugs into the deck's USB hub as a keyboard and mouse. Schematik writes and flashes the Pico; the Pi 5 runs its own Linux.
The project lists 42 printed parts, custom circuit boards and about $728 of required parts before shipping. Sector 07 released the design under CC BY-NC 4.0, for personal, non-commercial builds.
What a small cyberdeck needs
Every deck above has the same four parts.
| Part | In the builds above | Watch for |
|---|---|---|
| Board | ESP32 DevKit v1, an ESP32 with e-paper, Raspberry Pi 5 | One program, or a full Linux desktop |
| Screen | 0.96-inch OLED, 0.91-inch OLED, e-paper, two 9-inch touchscreens | A 0.96-inch OLED needs 4 wires: VCC, GND, SDA, SCL |
| Input | Rotary knob, two buttons, CardKB2 keyboard, macro keys and trackpad | A 5V keyboard needs a level shifter on a 3.3V ESP32 |
| Power | USB for the ESP32 decks, a 5V 5A USB-C supply for the Pi 5 | Never wire a loose lithium cell to the board |
A board with the screen already on it saves most of the wiring. The ESP32 display projects guide shows which ones exist and what people built on them.
ESP32 or Raspberry Pi
The board sets the size of everything else. An ESP32 is a microcontroller: it runs the one program you write. A Raspberry Pi 5 is a single-board computer: it runs a full operating system, like your laptop. What is a microcontroller goes deeper on the difference.
| ESP32 | Raspberry Pi 5 | |
|---|---|---|
| Processor | 1 or 2 cores, up to 240 MHz | 4 cores, 2.4 GHz |
| Memory | 520 KB SRAM | 1 GB to 16 GB |
| Wireless | 2.4 GHz Wi-Fi, Bluetooth and Bluetooth LE | Dual-band Wi-Fi, Bluetooth 5.0 |
| Pins and ports | 34 programmable GPIOs | 40-pin GPIO header, 2 HDMI, 4 USB, microSD |
| Power | USB, on a DevKit board | 5V, 5A USB-C supply |
| Software | your one program | a full operating system |
Numbers from Espressif's ESP32 datasheet and Raspberry Pi's Raspberry Pi 5 product brief.
Pick an ESP32 for a pocket deck that does a few things: scan Wi-Fi, show notes, run a timer, read a card. Pick a Raspberry Pi when you want a desktop, HDMI screens and ordinary USB keyboards and drives.
The Raspberry Pi Pico is a microcontroller like the ESP32, not a Linux computer: an RP2040 with two cores at up to 133 MHz, 264 kB of SRAM and 26 GPIO pins, per its datasheet. otieno.robind's build uses one as the knobs-and-keys side of a Pi 5 deck.
Build a pocket ESP32 cyberdeck
neilyneilynig's ESP32 Cyberdeck Console is the shortest way in. You need three parts:
- an ESP32 DevKit v1
- a 0.96-inch 128 × 64 SSD1306 OLED
- a KY-040 rotary encoder
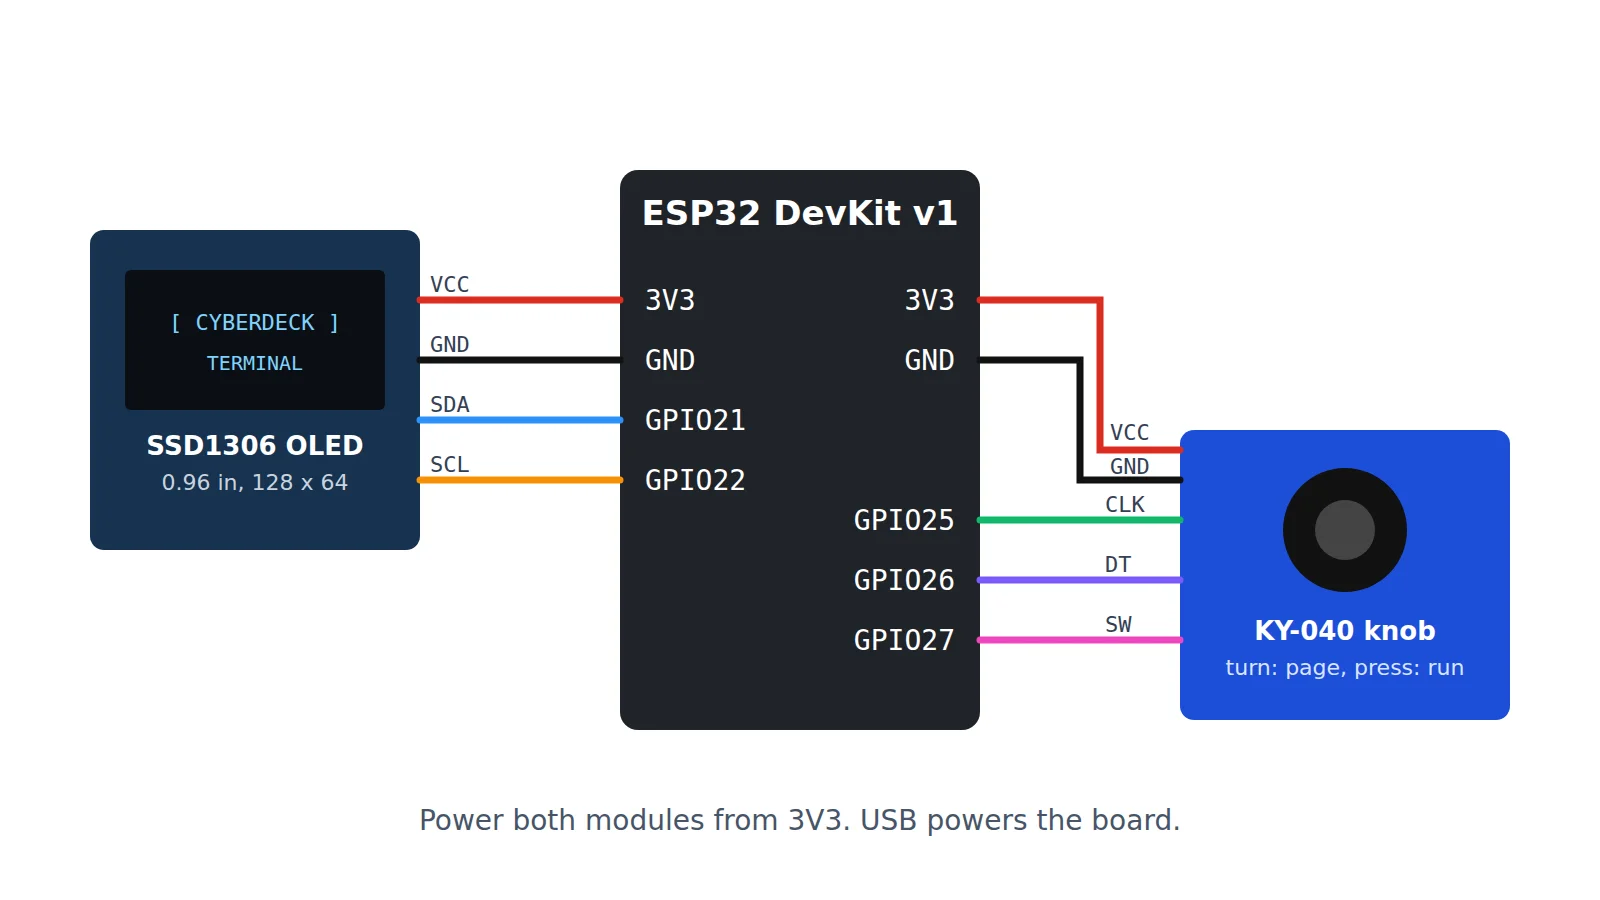
| Part | Pin | ESP32 pin |
|---|---|---|
| OLED | VCC | 3V3 |
| OLED | GND | GND |
| OLED | SDA | GPIO21 |
| OLED | SCL | GPIO22 |
| KY-040 | VCC | 3V3 |
| KY-040 | GND | GND |
| KY-040 | CLK | GPIO25 |
| KY-040 | DT | GPIO26 |
| KY-040 | SW | GPIO27 |
- With USB unplugged, wire the OLED: VCC to 3V3, GND to GND, SDA to GPIO21, SCL to GPIO22.
- Wire the knob: VCC to 3V3, GND to GND, CLK to GPIO25, DT to GPIO26, SW to GPIO27. Keep it on 3V3, not 5V, so its signals stay safe for the ESP32's 3.3V inputs.
- Follow each wire from its printed label to its ESP32 pin once more.
- Open the project in Schematik, plug the ESP32 in over USB and press Deploy.
No parts yet? The simulator runs the DevKit v1, OLED screens and rotary encoders in your browser. Open the project, pick Preview and press Run, then turn the knob on screen.
Keep a bare DevKit on USB power. Emmanuel Mumo's build page warns against wiring a loose lithium battery straight to the board. For a deck that leaves the desk, pick a board with a charger built in. The ESP32 power guide shows how.
Start your own
Open Schematik and paste this:
Build a pocket cyberdeck on an ESP32 DevKit v1 with a 0.96-inch SSD1306 OLED and a KY-040 rotary knob. Turn the knob to switch between a clock, a Wi-Fi scanner and a notes page; press it to select.
You get the wiring, the parts list and the code. For more ideas, browse the ESP32 projects people have built.
Keep building from here
Jump into a step-by-step build, or open Schematik and turn your own idea into code, wiring, and assembly instructions.
Related posts
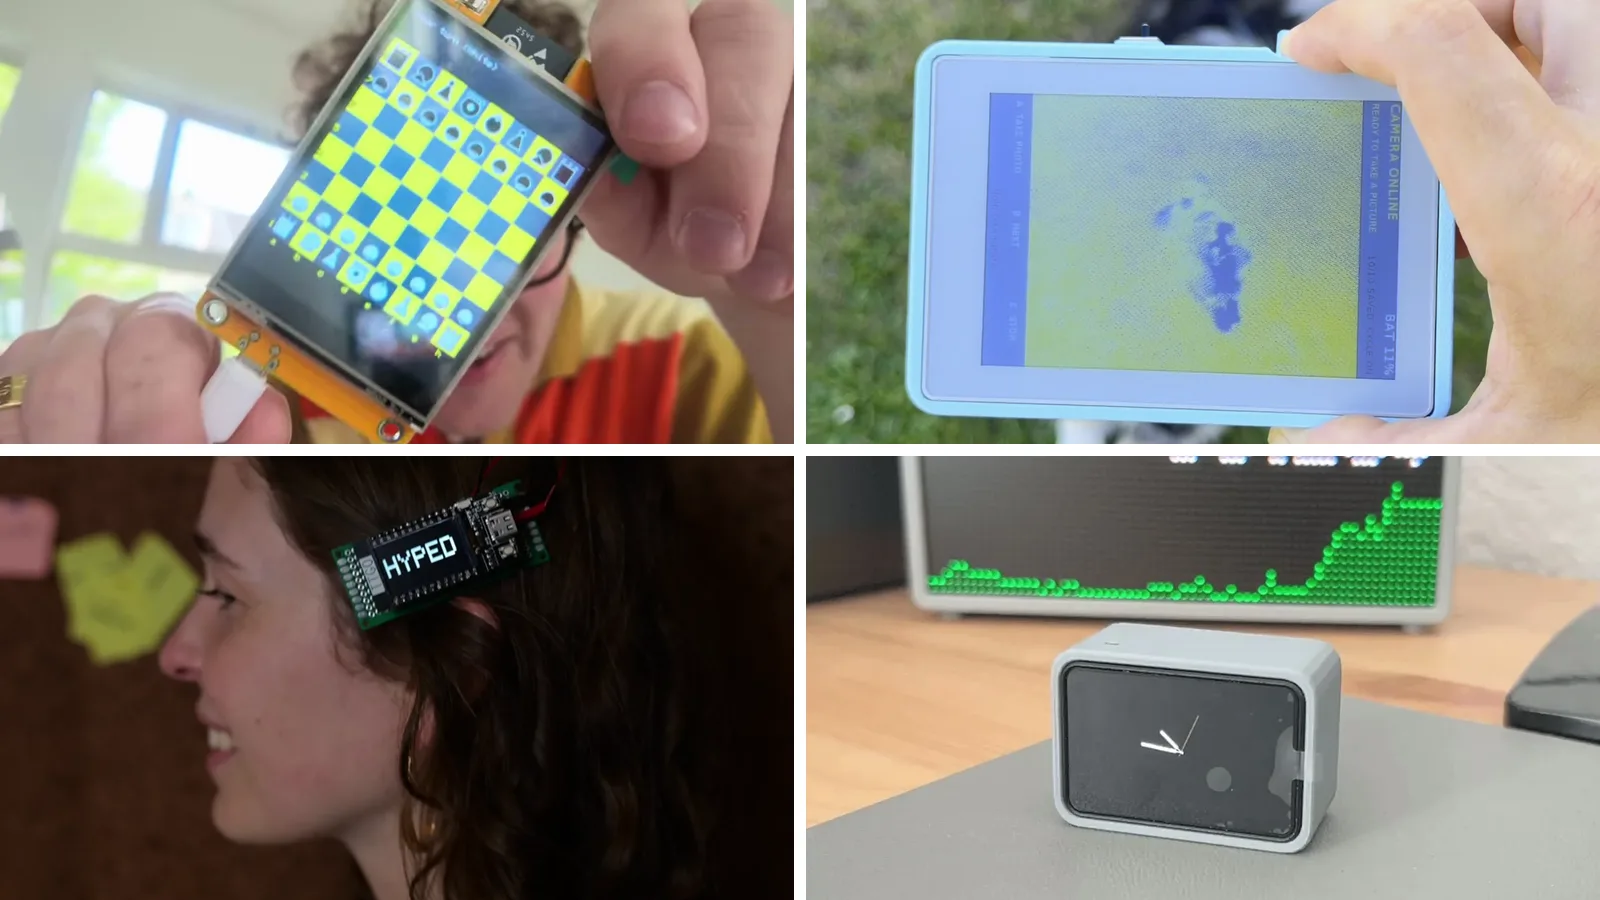
ESP32 display projects: touch screens, e-ink and tiny TFTs
A chess game on a Cheap Yellow Display, a camera that sends its photos to e-ink, a hair clip with a screen and a desk buddy with a face. Which ESP32 display board fits which build, and the projects to start from.
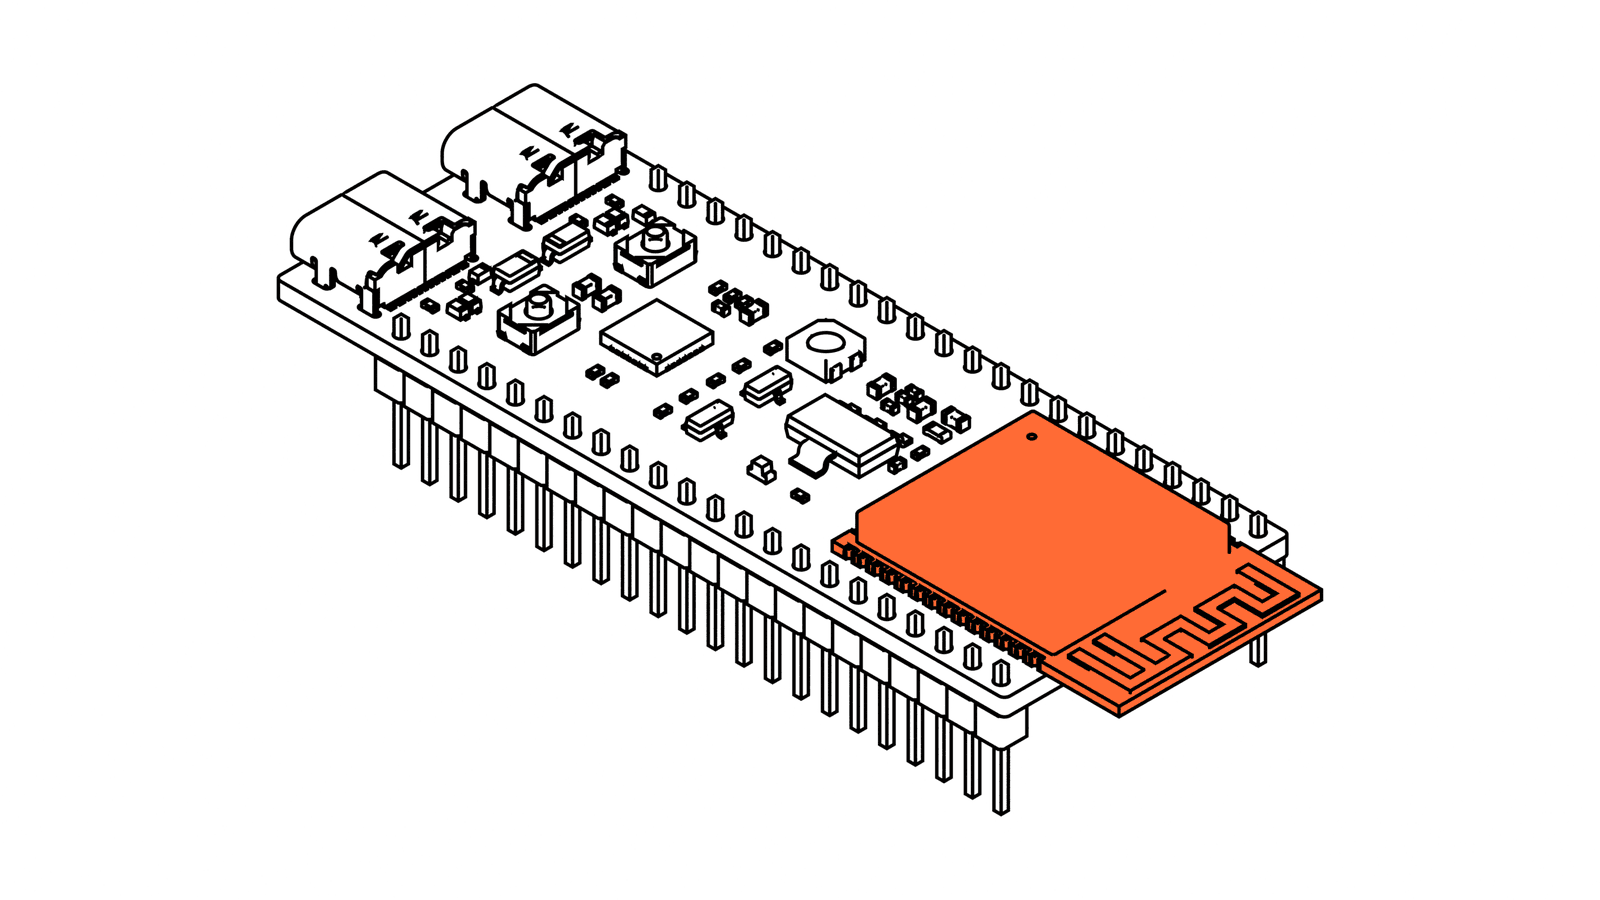
What is a microcontroller, and how is it different from a Raspberry Pi?
A microcontroller is a whole computer on one chip that starts its one program on its own when it gets power. Here is what's inside an ESP32-S3 and how it compares with a Raspberry Pi.
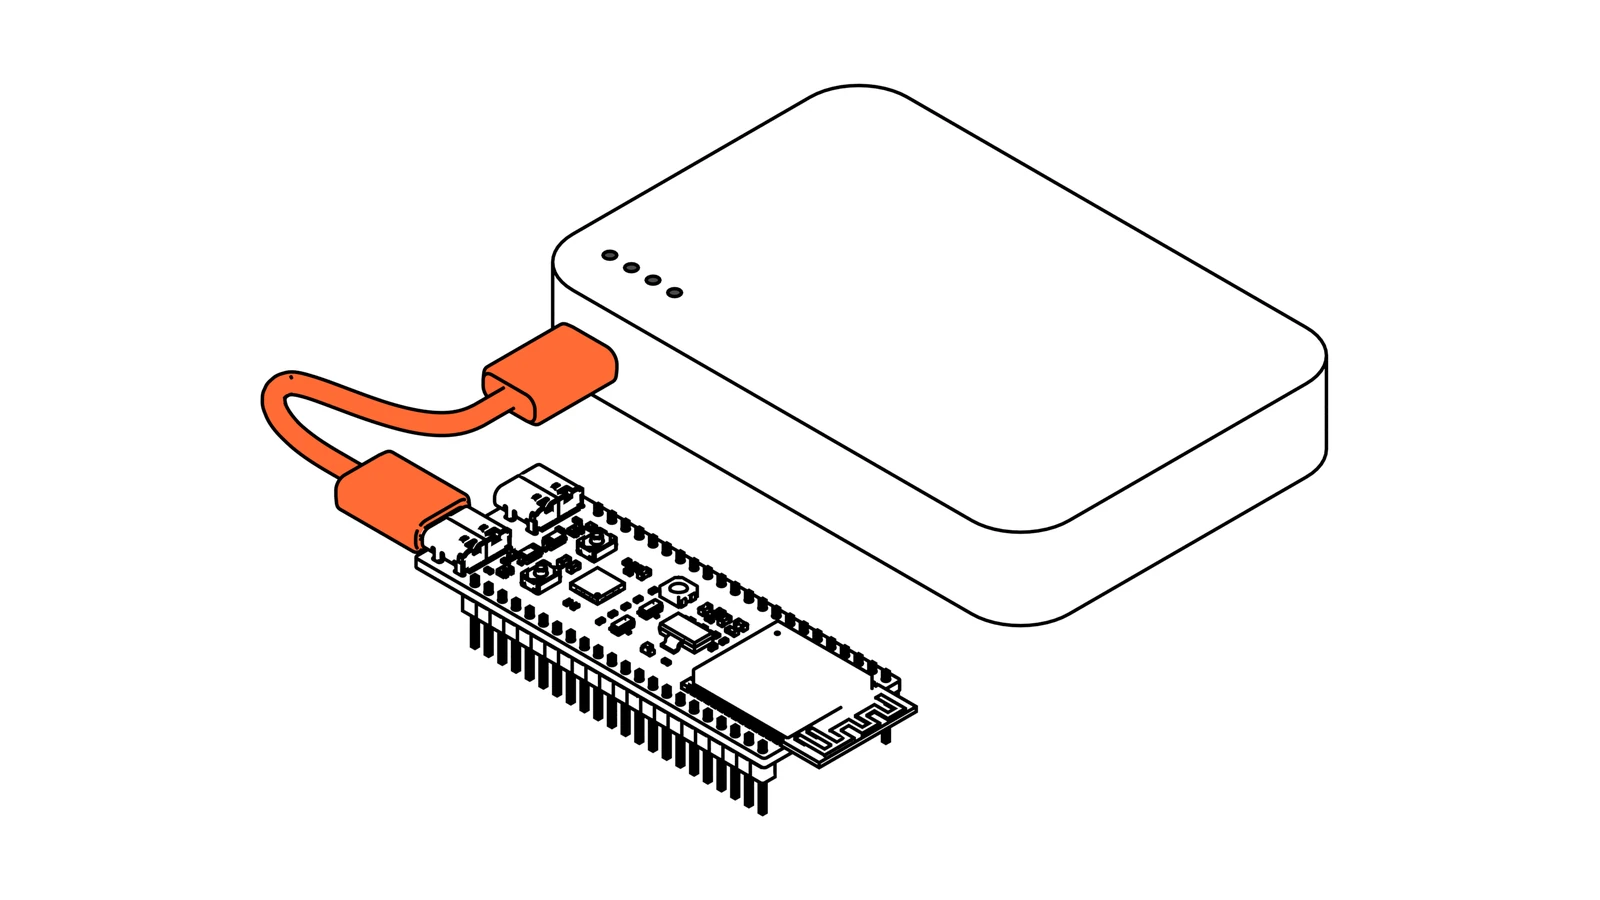
How to power an ESP32: USB, the 5V pin, the 3V3 pin and batteries
There are four ways to get power into an ESP32, and each one goes through the board differently. Here is the path each one takes, the numbers from the datasheets and how to make a battery last for months.
Related builds
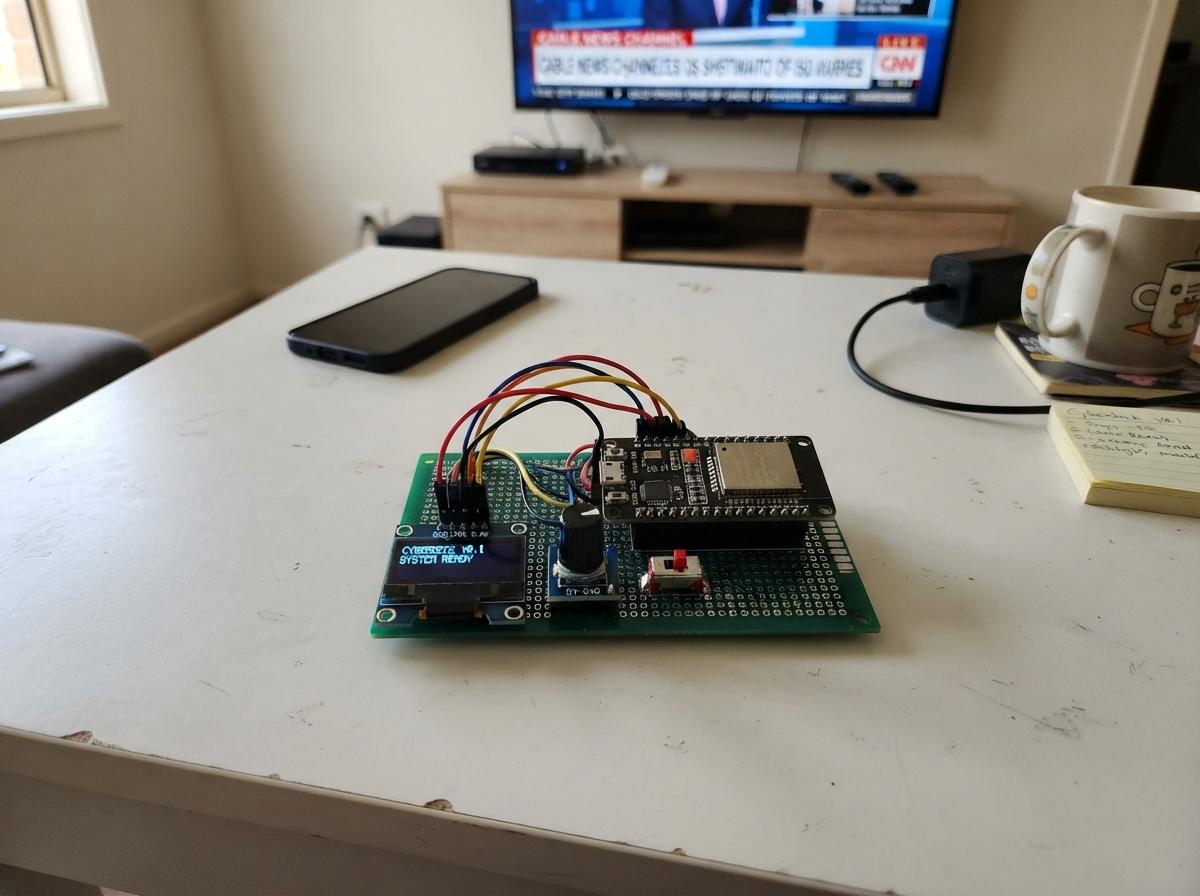
ESP32 Cyberdeck Console
Build a retro ESP32 cyberdeck with OLED display and rotary encoder control. Complete wiring guide and firmware included.
ESP32 Cyber Deck
Build an ESP32-based cyber deck with OLED display and WiFi scanning using this complete assembly guide.
Build Me Raspberry Pi Dual Screen Cyberdeck Like
Build a Pico-based dual-screen cyberdeck control panel with macro keys, rotary encoders, and trackpad interface.