On this page
An Arduino is a microcontroller board. It runs one program, and that program starts the moment the board gets power. A Raspberry Pi 5 is a small Linux computer with two HDMI outputs, four USB ports and up to 16 GB of RAM.
That difference settles most choices. If your build reads sensors, lights LEDs, beeps or drives motors, use a microcontroller. If it needs a desktop, a monitor or Linux software, use a Raspberry Pi 5.
One name trips people up. The Raspberry Pi Pico is not a smaller Pi 5. It is Raspberry Pi's own microcontroller board, which makes it much closer to an Arduino. For how a microcontroller runs code without an operating system, see what is a microcontroller.
The short answer
- Arduino Uno for sensors, buttons, LEDs and motor drivers, with 5 V pins and six analog inputs.
- Raspberry Pi 5 for Linux, screens, a keyboard and mouse, networking and anything that needs gigabytes of RAM.
- Raspberry Pi Pico 2 for the same jobs as an Uno on a smaller 3.3 V board with 26 GPIO pins, programmed in C/C++ or Python. The Pico 2 W adds Wi-Fi and Bluetooth.
Arduino vs Raspberry Pi specs
| Uno R3 | Pico 2 | Pi 5 | |
|---|---|---|---|
| Chip | ATmega328P, 16 MHz | RP2350, 2 cores, 150 MHz | BCM2712, 4 cores, 2.4 GHz |
| RAM | 2 kB | 520 KB | 1 to 16 GB |
| Storage | 32 kB flash | 4 MB flash | microSD card |
| GPIO | 14 digital | 26 | 26 |
| Analog in | 6 | 3 | None |
| Logic | 5 V | 3.3 V | 3.3 V |
| Wireless | None | Pico 2 W only | Wi-Fi, Bluetooth 5.0 |
| Runs | One program | One program | Linux |
A Raspberry Pi 5 will not start without an operating system image on its boot media, usually a microSD card. An Uno or a Pico has no operating system. You flash your program onto the board's own memory and it runs as soon as it has power.
The pins matter as much as the processor. Both Unos use 5 V logic and have six analog inputs, so most 5 V sensors and modules plug straight in. The Pi 5's header has none: every pin is power, ground, GPIO or the ID EEPROM. Its GPIO runs at 3.3 V, and Raspberry Pi's documentation says never to put 5 V on a GPIO pin. Each pin supplies up to 16 mA, 50 mA across all of them. Mixing 5 V parts with a 3.3 V board is covered in 3.3 V vs 5 V logic level shifting.
Two smaller differences. The Uno R3's ATmega328P isn't soldered down, so you can swap it if you kill it. The Uno R4 Minima keeps the Uno layout and 5 V logic but moves to a 48 MHz Renesas RA4M1 with 32 kB of SRAM and 256 kB of flash, switches to USB-C, and adds a DAC, a real-time clock, and the ability to act as a USB keyboard or mouse.
The Raspberry Pi Pico is not a small Pi
Raspberry Pi describes its Pico boards as microcontroller boards that don't run Linux. Programs are flashed onto on-board memory instead of a removable card. That puts the Pico next to the Arduino Uno, not the Pi 5.
The Pico 2 is 21 mm × 51 mm. It has 520 KB of SRAM, 4 MB of flash and 26 GPIO pins, three of them analog inputs. It takes 1.8 to 5.5 V in, but its GPIO stays at 3.3 V.
Plenty of guides still use the original Pico. It has an RP2040 (two Cortex-M0+ cores at 133 MHz), 264 KB of SRAM, 2 MB of flash and the same 26 GPIO with three analog inputs. You program it by dragging a file onto it over USB, and it runs MicroPython.
Pico or Uno?
- Pico 2: more memory, Python, a smaller board and optional wireless on the Pico 2 W. See Raspberry Pi Pico projects.
- Uno: 5 V pins and six analog inputs instead of three. See Arduino projects.
Which to pick for your project
Sensors and alarms: Arduino Uno
Reading a sensor and making a noise is what an Uno is for. The laser tripwire alarm shines a laser on D2 at a light sensor (an LDR with a 10k resistor) on analog pin A0. The Uno reads A0 every 100 ms. If the reading drops below 400, the beam is broken and a buzzer on D5 sounds at 1 kHz.
Ivan Ilaw's automated mini greenhouse does more of the same on one Uno. It reads soil moisture, temperature, humidity and light, switches a pump and a fan on set thresholds, and shows the readings on an LCD.
A Pico works as well when the box has to be small. Sven Letterer's stratospheric balloon tracker uses a Pico 2 to log GPS position, air pressure and thermocouple temperature to an SD card during the flight.
Games, robots and motors: either microcontroller
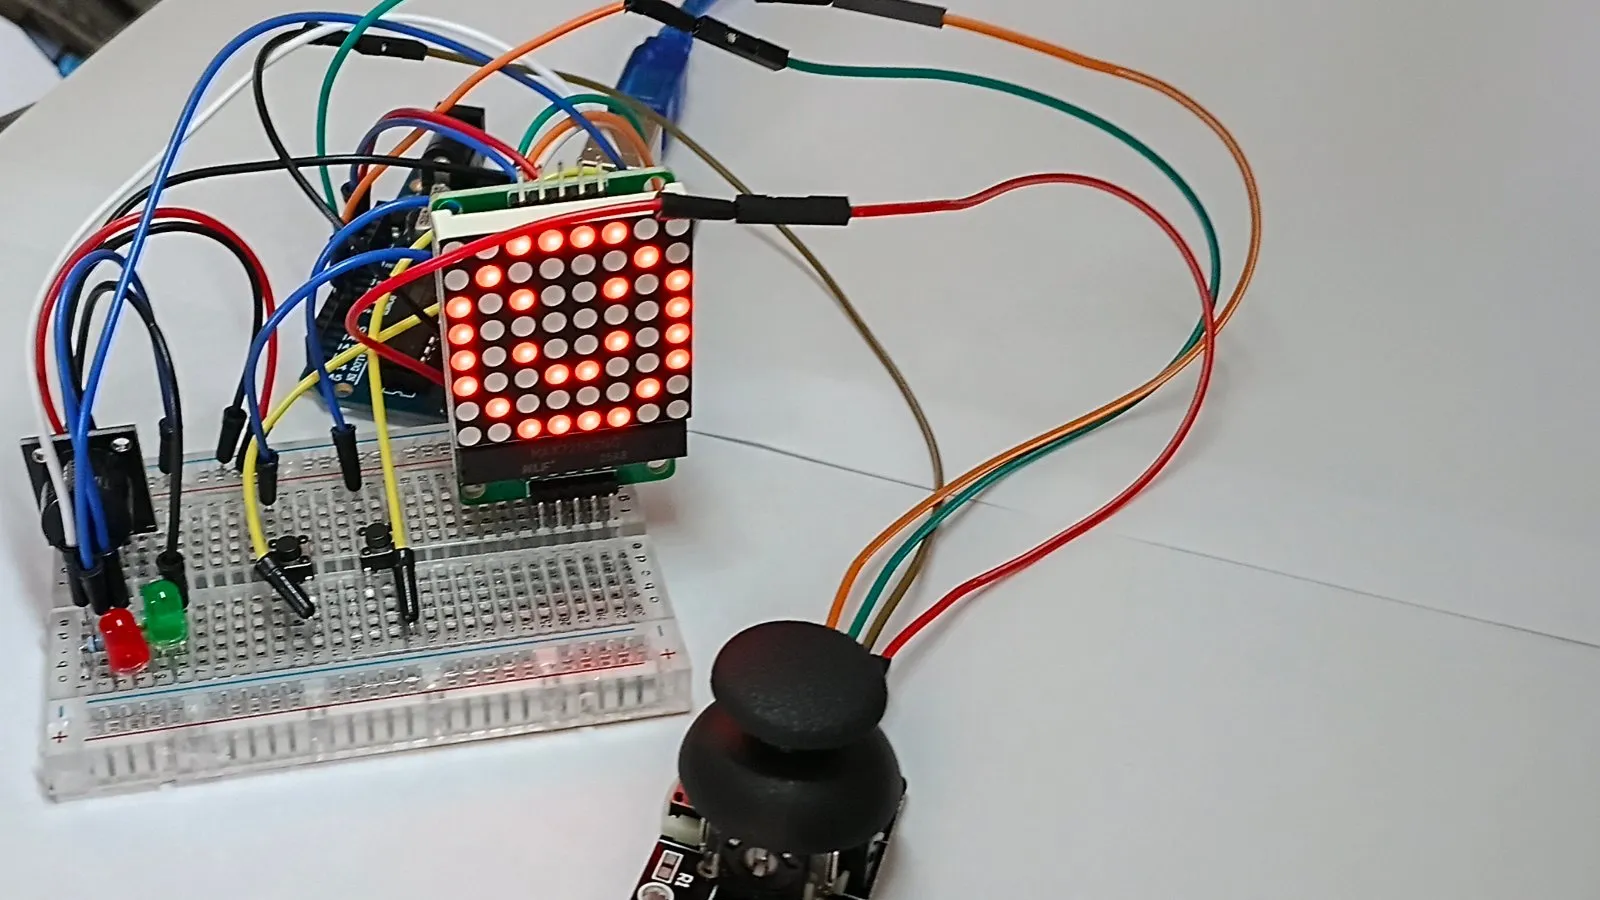
Buttons, LED matrices and motors want fast, direct pin control. Marco Machado Wada's LED matrix games, the build in the photo at the top, runs five games on an Uno with an 8x8 LED matrix, a joystick, buttons and a buzzer.
Motors never go straight on a pin, on any board. Md. Masud Rana's line-following robot reads an eight-channel infrared sensor bar on an Uno and drives two N20 motors through an L298N motor driver.
For many servos, a Pico plus servo driver boards keeps the wiring sane. Shaikh Tajmul haque's tiny spider robot walks on eight legs with two servos each, 16 in total, through two PCA9685 driver boards chained over I2C.
Schematik's cosmic critter pet puts a Pico with an accelerometer, an OLED face, an LED ring and a buzzer on a desk. Tilt it and the face switches between four moods: HAPPY, SLEEPY, DIZZY and HYPER.
USB controllers and MIDI: Pico or Uno R4
A controller that plugs into a computer has to show up as a USB device. Arduino's Keyboard library lists the Uno R4 Minima and Uno R4 WiFi, but not the Uno R3.
The Pico does this well. stan_vandervoort's Pico MIDI controller has eight buttons and three knobs in a 3D-printed case and sends MIDI notes and control changes to music software over USB. The three knobs use the Pico's three analog inputs, GPIO 26, 27 and 28.
Screens, video and a desktop: Raspberry Pi 5
Once a project needs a monitor, a browser, a keyboard and mouse, or Linux software, move to a Pi 5. It has two 4Kp60 HDMI outputs, two USB 3.0 and two USB 2.0 ports, Gigabit Ethernet, dual-band Wi-Fi and Bluetooth 5.0, and runs from a 5 V, 5 A USB-C supply. No board in the other three columns of the table can drive a 4K screen or run a desktop.
Use both
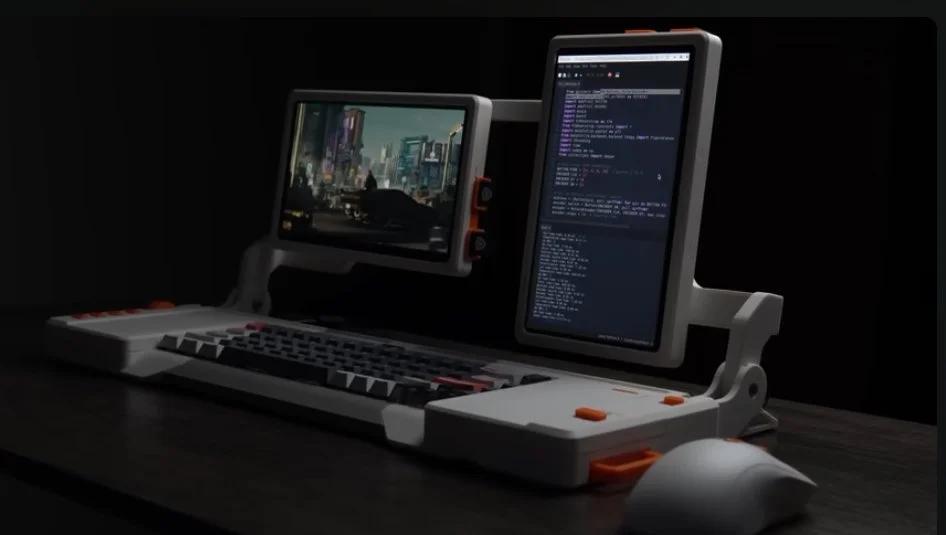
The most useful answer is often both. otieno.robind's dual-screen cyberdeck, based on Sector 07's design, gives each board the job it is good at. A Raspberry Pi 5 runs Linux and two displays. A Pico runs the control panel, with two rotary encoders, four macro keys and a trackpad, and talks to the Pi 5 over USB as a keyboard and mouse.
Arduino vs ESP32
If you want Wi-Fi or Bluetooth on a microcontroller, the usual alternative to an Uno is an ESP32.
The original ESP32 has two Xtensa LX6 cores at up to 240 MHz, 520 KB of SRAM, Wi-Fi, Bluetooth 4.2 and Bluetooth LE, 34 GPIO pins and a 12-bit ADC with up to 18 channels. Like the Pico and the Pi 5, it runs at 3.3 V.
- ESP32: Wi-Fi and Bluetooth on a 3.3 V board with plenty of pins. To choose between the newer chips, see ESP32-C3 vs ESP32-S3.
- Uno R3 or R4 Minima: 5 V pins and no networking needed.
- Uno R4 WiFi: an Uno R4 with an ESP32-S3 on the board for Wi-Fi and Bluetooth, plus a 12x8 LED matrix.
Schematik's ESP32 plane radar shows what the radio is for. An ESP32-C3 Super Mini fetches live aircraft positions over Wi-Fi every five seconds and draws them on a 1.28-inch round display. More wireless builds are in ESP32 projects.
Try one without buying a board
The Schematik simulator runs Arduino Uno, Nano and Mega, Raspberry Pi Pico and ESP32 boards in the browser. Both clips above come from it. Arduino and Pico runs have no Wi-Fi.
Start your build
Open Schematik and describe what you want to make, for example:
Build a laser tripwire alarm with an Arduino Uno: an LDR and 10k resistor on A0, a low-power laser module on D2, and a piezo buzzer on D5 that sounds at 1 kHz when the beam is broken.
Keep building from here
Jump into a step-by-step build, or open Schematik and turn your own idea into code, wiring, and assembly instructions.
Related posts
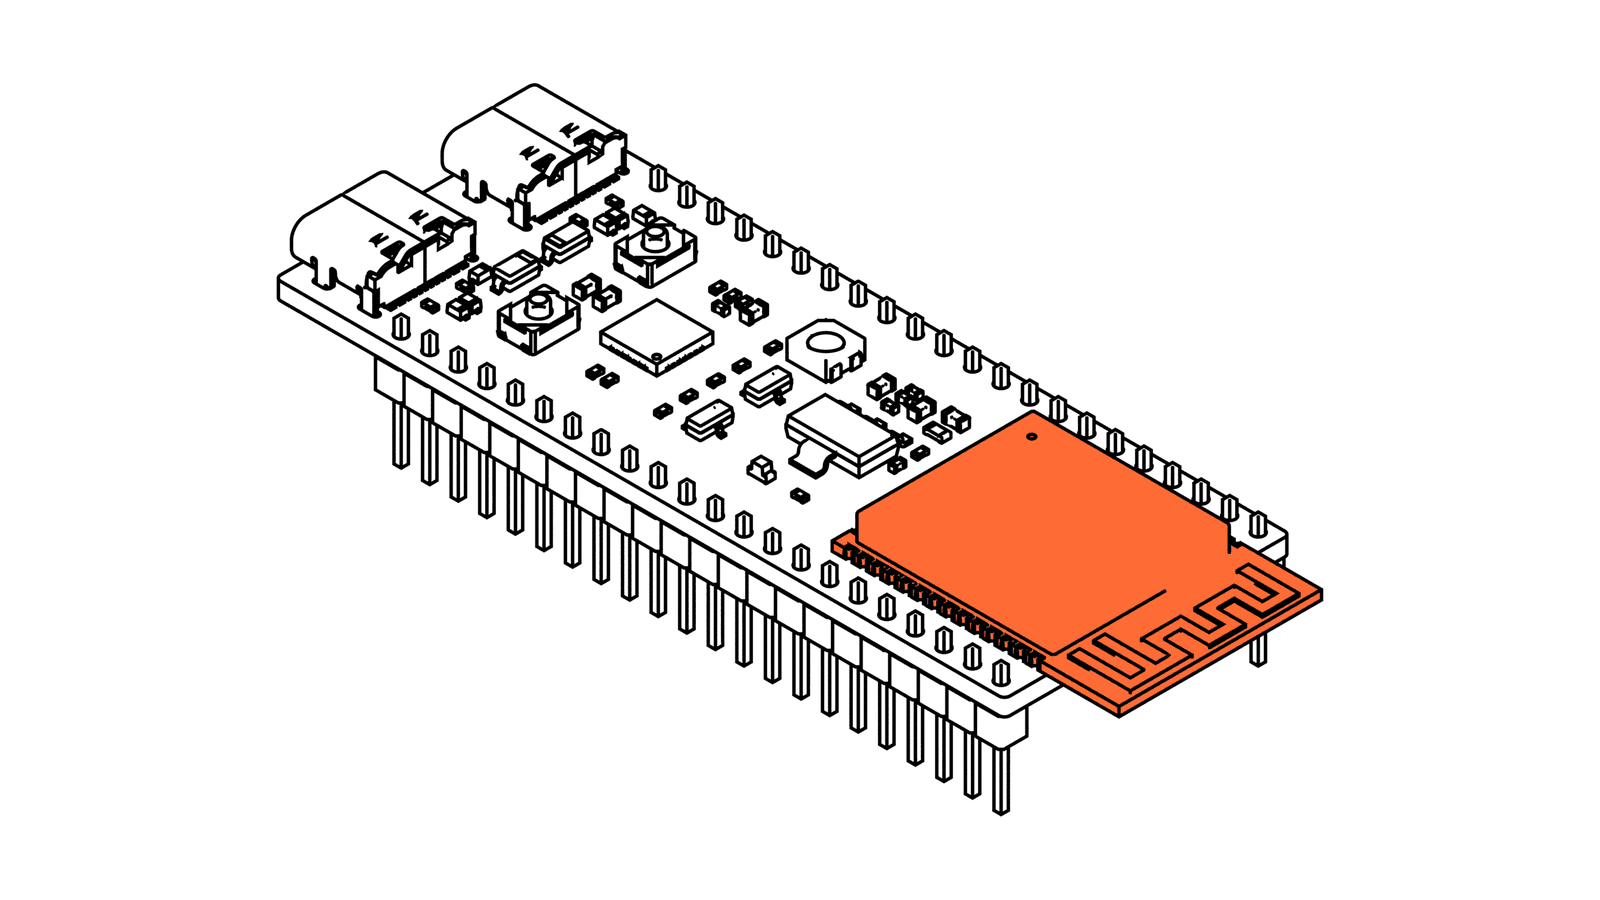
What is a microcontroller, and how is it different from a Raspberry Pi?
A microcontroller is a whole computer on one chip that starts its one program on its own when it gets power. Here is what's inside an ESP32-S3 and how it compares with a Raspberry Pi.
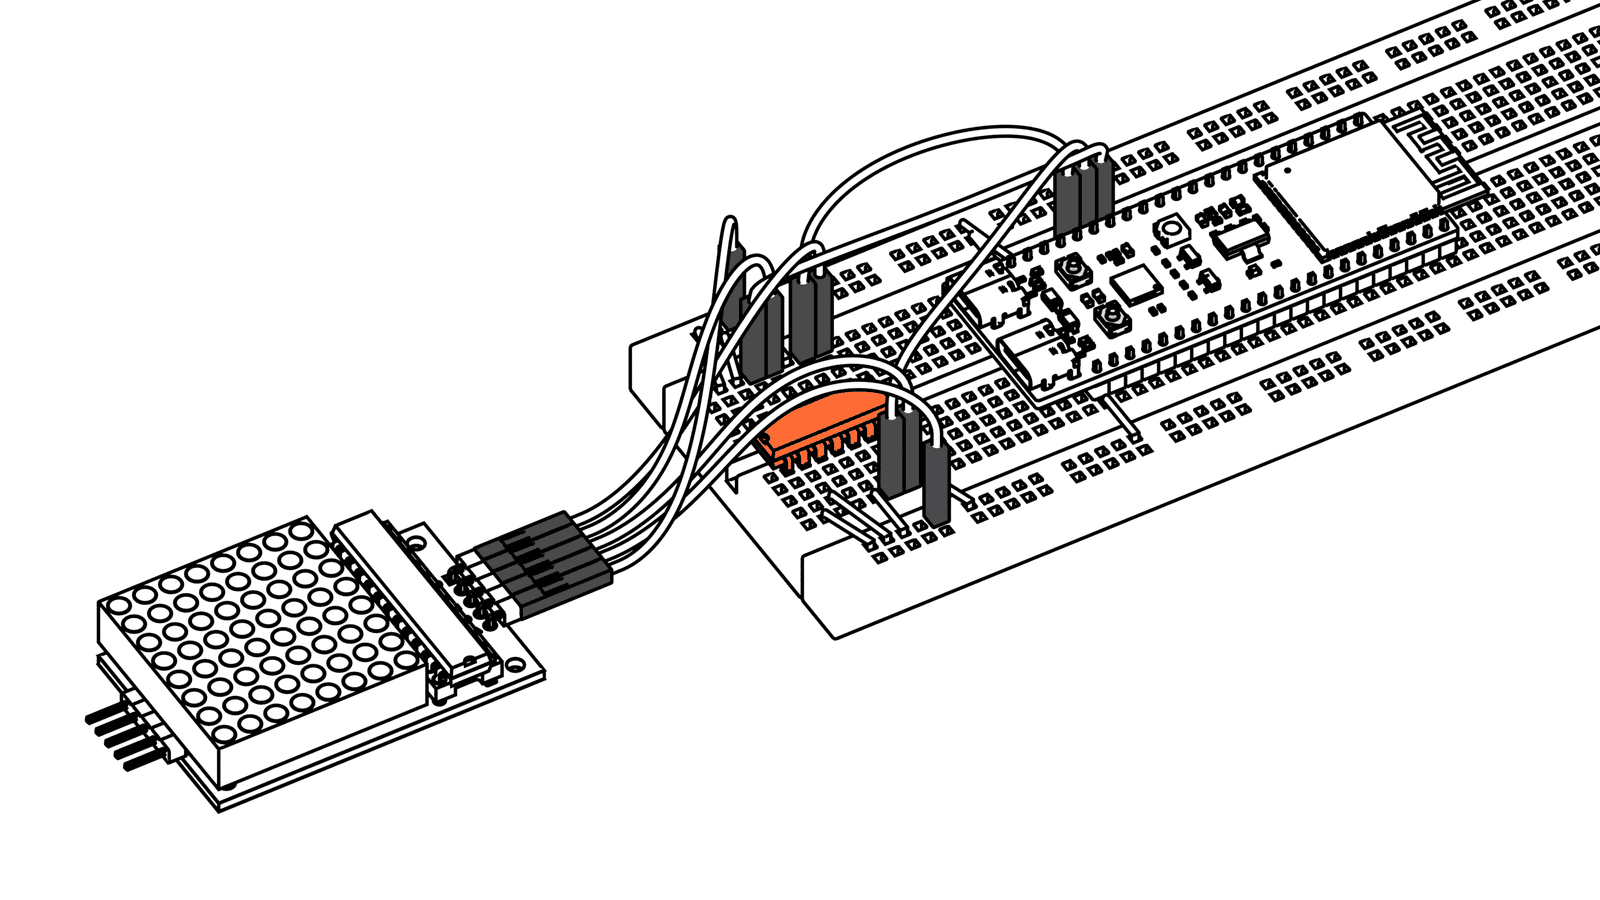
Logic level shifter: when an ESP32 needs one and how to wire it
Your ESP32 speaks 3.3V and some parts speak 5V. Here is how to tell when that matters, and the three ways to connect them safely: a divider, a buffer chip or a MOSFET shifter.
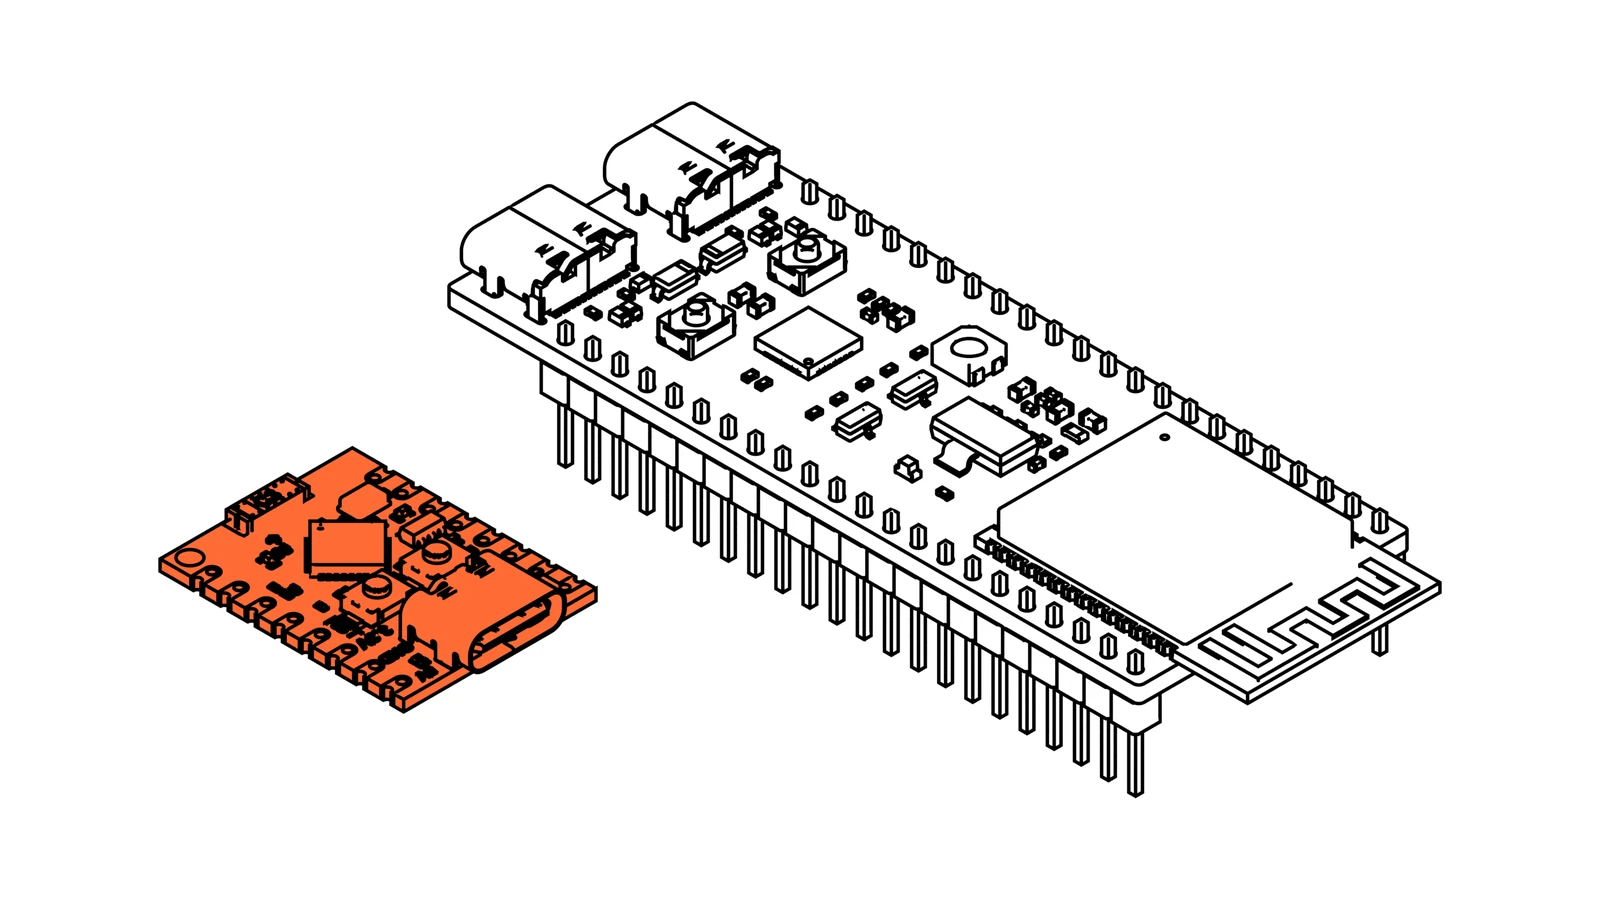
ESP32-C3 vs S3 vs C6: specs side by side and which to pick
The S3 has two fast cores, a camera port and native USB. The C3 is the tiny low-power one. The C6 speaks Wi-Fi 6, Zigbee and Thread. A side-by-side table from Espressif's datasheets, and which to pick for your build.
Related builds
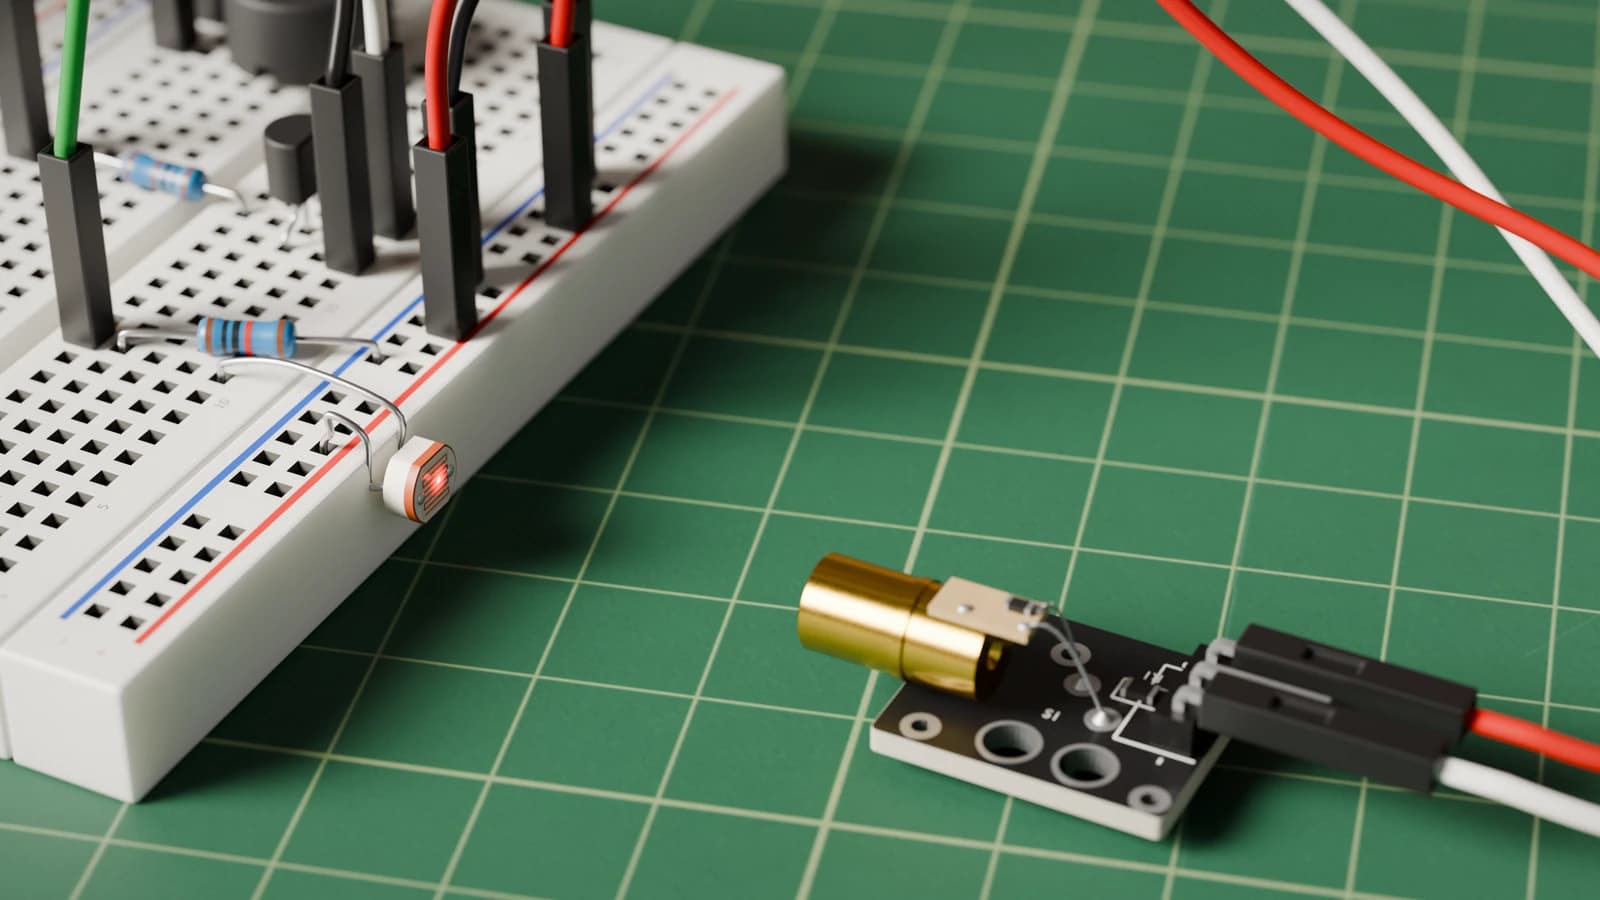
How to Build a Laser Tripwire Alarm Demo with Arduino
Build a classroom-safe Arduino beam-break alarm demo using a low-power laser, LDR photoresistor, 10k resistor, and piezo buzzer.
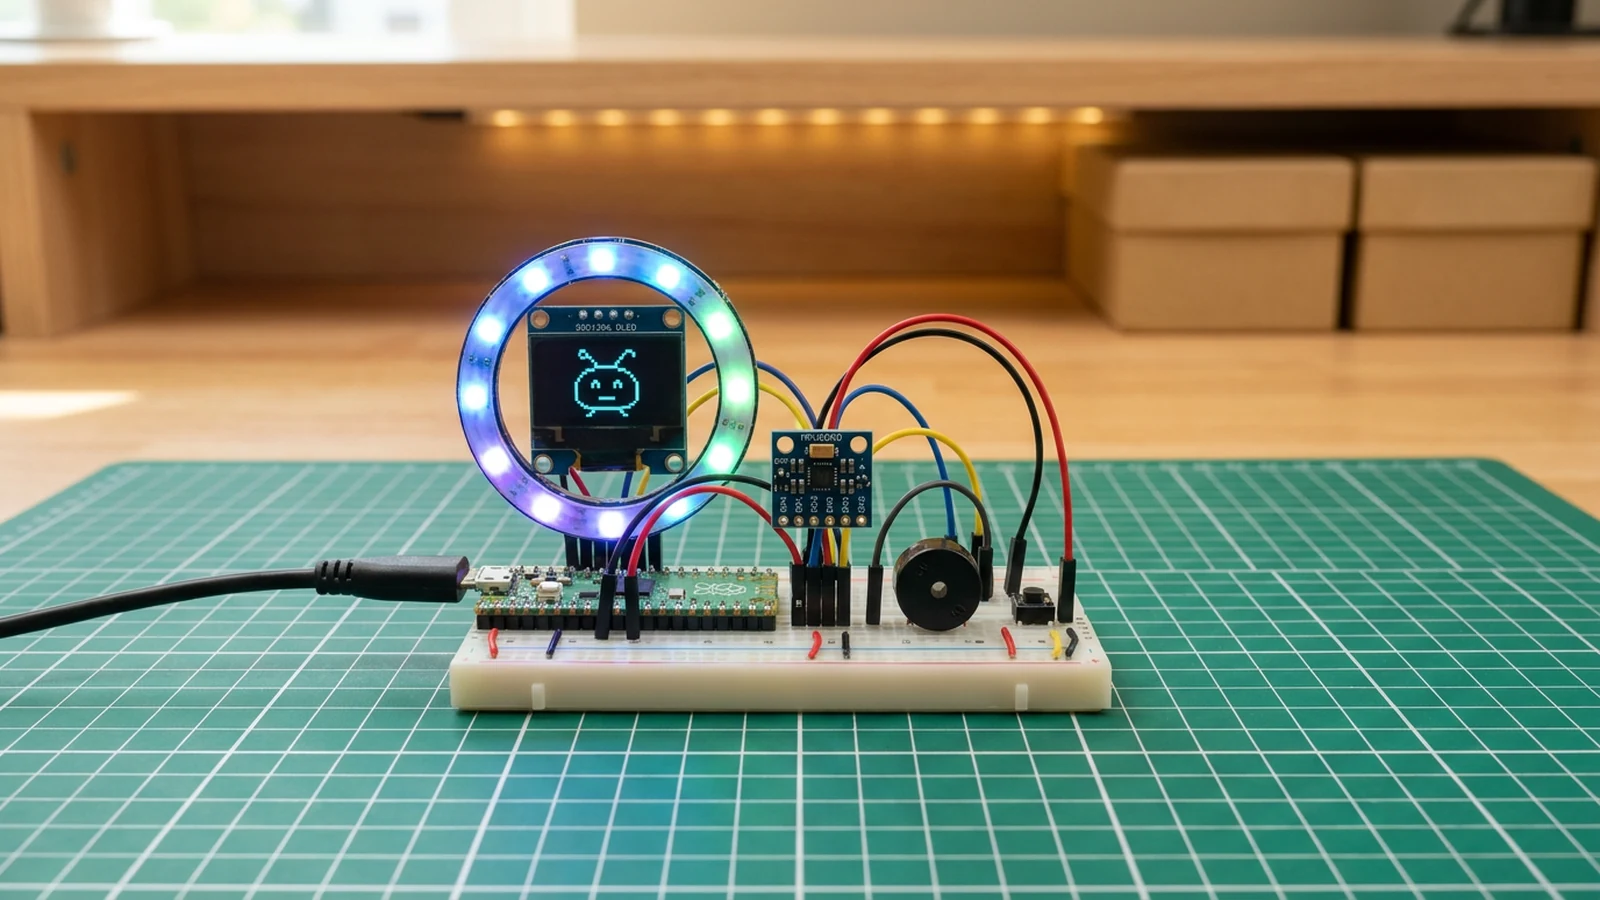
How to Build a Cosmic Critter Pet with Raspberry Pi Pico
Create a Raspberry Pi Pico virtual pet with MPU6050, OLED face, WS2812B LED ring, and buzzer. Tilting changes mood, colors, and sounds.
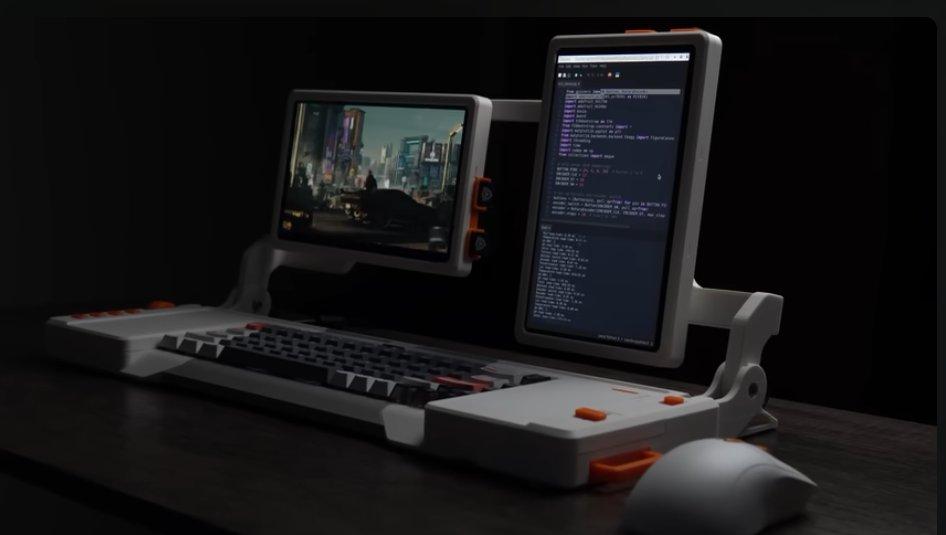
Build Me Raspberry Pi Dual Screen Cyberdeck Like
Build a Pico-based dual-screen cyberdeck control panel with macro keys, rotary encoders, and trackpad interface.